Joshua Pearce, a professor at Western University and co-author of the free publication “To Catch the Sun” on do-it-yourself solar systems, stresses that converting sunlight into energy is not only possible, but also something that anybody with basic technical knowledge can do. Getting involved in solar energy is possible, whether you create modules from individual cells or build photovoltaic systems using commercially available modules.
Photovoltaic cells, tab wires, and an encapsulating medium like glass make up a solar panel’s essential parts. You may readily get these materials in different sizes online or at hardware stores, allowing you to customise your panels for certain tasks.
Starting small is advised not only for simplicity’s sake but also due to the fact that larger panels are more expensive to purchase than to manufacture. Pearce advises starting with a smaller panel that can run appliances like a garden water pump. This enables you to practise soldering and familiarise yourself with the materials.
Due to the project’s use of potentially dangerous electrical tools and components, it is crucial to use caution. Although there is a small chance of making a wiring error, producing a short, or getting burned by the soldering iron, these risks may be reduced with the right safety precautions.
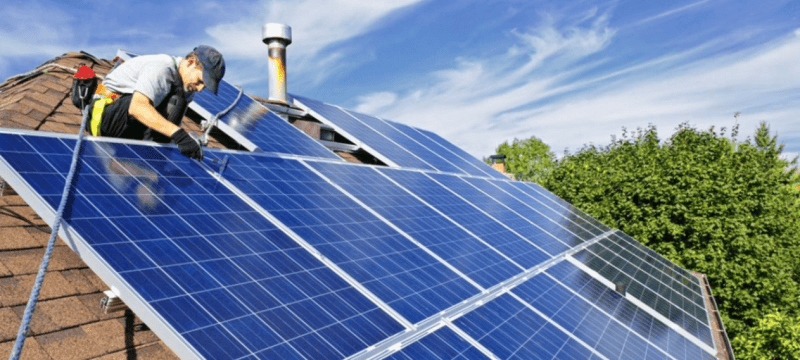
When you’re prepared for a bigger project, it is absolutely doable to build a solar panel system to provide the majority of the electricity for your home. A solar installation will cost roughly half as much to hire as opposed to completing the majority of the work yourself and having an electrician connect the system to the grid.
Also read: T-Bills Help the Government Raise Rs. 444 Billion
Premade solar panels are preferable than building them from scratch for such projects since they are more affordable. Place the panels on racks (which you may build yourself) and arrange them to get the most sunshine exposure. With the use of an inverter, this sort of system may convert the electricity to alternating current for use with conventional American electrical appliances, or it can power equipment that operate on direct current.
Although multimeter testing of the system is essential, it is advised to consult a certified electrician to guarantee correct operation. Another task that calls for the aid of a qualified specialist is connecting your system to the electrical grid.
Step-by-step Guide:
- Obtain PV cells, tab wires, and encapsulating material (such as glass) for solar panels.
- Put safety first by donning gloves and safety glasses.
- The tab wires are measured, stretched, and cut.
- The tab wires on the front and rear of the solar cells should be soldered.
- Using a multimeter, check the connections.
- To keep the wires from becoming sealed within the cells, make sure they are moved away from the cells.
- Choose between encasing the cells in glass or laminating them for a temporary panel. Place the cells on the bottom sheet after cleaning the glass.
- Use glue or caulk to seal the panel.
- Celebrate the accomplishment of using a DC-powered item with your DIY solar panel connected to it!